Bitcoin Storage: How Much Security Do You Actually Need? A Guide by Holding Size
Do you need a hardware wallet for your Bitcoin? It depends on how much you hold. Four storage tiers, from a mobile vault with a PIN to a multisig vault.
Story details
Topics
Author(s)
Janlo van den HeeverPublished
November 12, 2026
Sign up for updates!
Stay tuned to our latest news and updates

How much security your Bitcoin needs depends on how much you hold. A balance you spend from each week and a position you intend to hold for a decade are two entirely different situations, and they call for different setups.
This guide splits Bitcoin storage into four tiers by position size. Each tier gets a rough threshold, the setup that fits it, the attack it stops, what it unlocks, and what it costs you in convenience. Pick the band that matches your largest holding and start there.
The Four Tiers at a Glance
For a short overview of the four tiers, refer to the table below.
The bands are guidance, not hard rules. Your own threshold depends on what the money means to you. The options also combine: a multisig vault with hardware signers is stronger than either setup on its own.
Tier 1: Transactional Balance
The first tier is for the BTC you use for day-to-day spending. Paying a friend back, topping up your Lightning balance, buying yourself something small.
The right answer here is a mobile vault with a PIN or biometric lock, and it is not a compromise. Convenience has real value, and over-securing your spending balance can slow you down on simple purchases. The goal at Tier 1 is to keep the balance small enough that the convenience is worth the exposure.
A few things are not optional, even here. Write down your seed phrase by hand and keep it offline. Our guide to what a seed phrase is covers why it is the master key to everything. Turn on auto-lock so an unattended phone does not stay open, which takes a minute using How to Set the Auto-Lock Timer. Set a device passcode that is not your birthday, your anniversary, or anything else easily guessable. Then follow How to Back Up Your Xverse Vault and make sure the backup actually works.
Tier 2: Retail Allocation
This is a tier many guides skim over or dismiss entirely. Your balance has grown past spending money, and losing it would hurt. At the same time, it does not feel like enough to justify buying and learning a dedicated signing device. Plenty of people who do buy one leave it in the box.
A good answer for this tier is paired-device two-factor authentication. Link your Xverse mobile app and the browser extension so that one device on its own cannot move your funds.
How Paired-Device 2FA Works
When you send from a paired vault, the transaction starts on one device and has to be approved on the other before it broadcasts.
Someone who steals your unlocked phone, or gets malware onto your laptop, holds half the pair. They cannot approve an outgoing transaction without the second device. Paired-device 2FA protects your devices, not your seed phrase.
Set up and manage pairing only inside the Xverse app. Xverse does not run a separate 2FA app, and it will not email you asking you to install one. Fake "2FA setup" emails have been used against Xverse users before.
How Paired 2FA Compares to a Hardware Wallet
Paired-device 2FA is cheaper and more convenient than a hardware wallet because it uses a phone and a laptop you already own. It also has a clear limit. Both devices connect to the internet, while a hardware signer does not. 2FA defends against one compromised device. Hardware signing defends against malware on any networked device you use.
If you only use one device, want your keys fully offline, or your holding has grown into Tier 3 territory, this tier is not the right fit.
With a second approval on every send, Earn positions become practical to hold at this tier. You can monitor them from either device and exit without plugging in a hardware signer. Earn yield is variable and depends on third-party protocols, each with its own smart contract risk. Read What are the risks of earning yield on Bitcoin? for more detail.
Tier 3: What Is a Bitcoin Hardware Wallet, and When Do You Need One?
A hardware wallet is a small physical device that stores your private keys and signs transactions itself. Your phone or laptop prepares a transaction and sends it to the device. The device shows you the details, you confirm on its own screen, and it sends back a signature. The keys never leave it, so malware on your computer has nothing to steal.
That design makes hardware signing the default recommendation for a high-net-worth allocation. When the device costs a small fraction of what it protects, the extra friction is easily justified.
A hardware wallet does not force you onto a new app. You can connect a Ledger or Keystone to Xverse and keep managing your portfolio from the same interface, with every signature happening on the device. Step-by-step instructions are in How to Connect a Hardware Wallet (Ledger or Keystone), and What Cold Storage Options does Xverse Support lists what each device covers.
A hardware wallet is one form of cold storage: keys held away from internet-connected machines. If you are weighing cold storage against keeping funds in a hot vault, our guide to cold and hot wallets walks through the trade-offs in more depth.
Hardware signing still leaves gaps. If someone finds your seed backup, they can restore your keys on their own device and the hardware you own becomes irrelevant. If you approve a malicious transaction on the device screen without reading it carefully, the device will sign it. No device protects you from someone who knows you hold bitcoin and is willing to threaten you in person.
At this tier, hardware signing lets you take part in staking and stacking without exposing keys to the networked device you use to interact with the protocol. Lockups, variable rewards, and protocol risk still apply.
Hardware, Two-Device 2FA, or Multisig? Three Routes to the Same Goal
At Tier 3, you have a choice rather than a single prescribed upgrade.
These are not rungs on a ladder. They are different answers to the same problem, and the right one depends on what you are most worried about.
Hardware signing is the strongest answer to malware. Multisig is the strongest answer to losing a key or having one stolen. Paired-device 2FA covers a single compromised device and is the cheapest to start.
They all combine. Hardware wallets used as signers inside a multisig vault give you offline keys and no single point of failure.
If budget is the obstacle, start with the upgrade that needs no purchase. Paired-device 2FA uses hardware you already have, which makes it the step people take now rather than the one they plan to take next month.
Tier 4: Multisig for Bitcoin: When One Key Is Not Enough
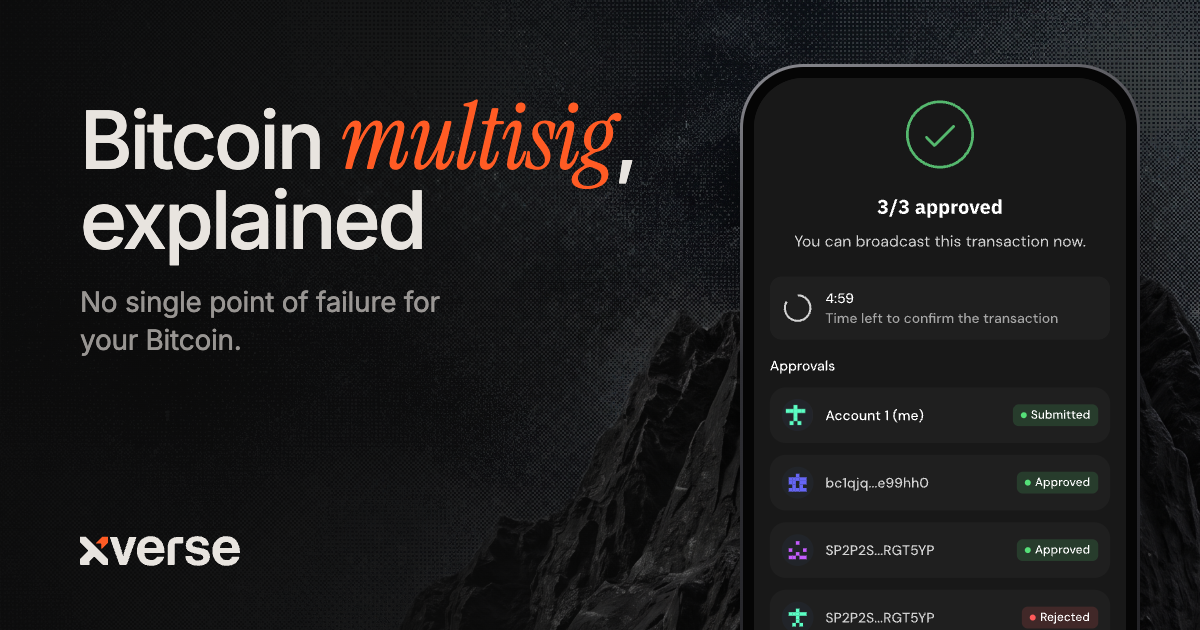
A multisig vault needs more than one private key to approve a transaction. The setup is written as m-of-n: n keys exist, and any m of them must sign. In a 2-of-3 vault, three keys exist and any two can move funds. If you lose one key, you can still recover. If one is stolen, the thief cannot spend without at least one other.
That makes multisig the right tier for treasury and institutional holdings, where a single failed key is unacceptable or control is shared among several people. A family fund, a business treasury, or a position you answer to a partner or a board for.
Xverse now supports native multisig vaults directly in the app. You create a vault, add up to 20 co-owners, and set the signing threshold yourself, from 2-of-3 up to larger arrangements like 3-of-5. The recommendation is to avoid requiring every signer, so that one missing key does not freeze the vault. Native SegWit vaults accept Ledger as a hardware signer, which is how you put offline keys inside a multisig.
Once a vault is live, Send, Swap, and Earn flows all work from within it. Every transaction that needs signing triggers a push notification to all co-owners, so nobody has to check manually. Vault management is built in as well: add or remove co-owners, rename the vault, or adjust the threshold as circumstances change.
Multisig removes single points of failure, but it also adds operational complexity. Each extra key means another backup to store and another device to keep updated. If you store all three keys of a 2-of-3 vault in the same drawer, you are still building a single point of failure. Spread them out and document how they fit together.
Multisig also changes what you can do with a large position. For anyone holding meaningful amounts or answerable to a board, it is hard to defend committing size to stacking or staking from a single-signature vault. Under shared or delegated control with a multisig vault, every movement needs several approvals, which makes it practical to deploy capital at scale.
How to Move Up a Tier Without Losing Access
Upgrading your security does not have to be difficult. The order of steps matters as much as the setup you choose.
First, build the new setup and leave the funds where they are. Send a small test amount to the new vault to make sure it works as intended.
Before you move everything, verify that you can recover. Wipe the app or reset the device, restore from your backup, and confirm the test funds are still there and spendable. For a multisig vault, sign a test transaction with each combination of keys you would rely on in an emergency.
Only once recovery works should you move the full balance. Move it in more than one transaction if the amount is large, and check that each one arrives before sending the next.
Finally, update your records. Note where each backup lives and which device does what. If someone else would need to act on your behalf, make sure they can find those notes without you.
The Takeaway
Pick the band that matches your holdings today. If that is a transactional balance, check your seed backup and auto-lock this afternoon. If it is a retail allocation, set up paired-device 2FA before you add more. Above that, choose your route at Tier 3, test recovery, and move to increase your security.
Open the security settings in the Xverse app and start with the step your tier calls for. If you do not have Xverse yet, download it here.
Frequently Asked Questions
How much Bitcoin do I need before I should upgrade my security?
There is no single number. Use what the money means to you as the guide. If losing it would hurt for months, paired-device 2FA is worth the few minutes of setup. If it would set you back years, hardware signing or multisig belongs on the list. The tiers in this guide start at under $1,000 and scale up from there.
Is a hardware wallet enough for large Bitcoin holdings?
A hardware wallet protects against malware reaching your keys, but it does not protect against a lost or stolen seed backup. For holdings where a single failed key is unacceptable, multisig adds a layer that hardware signing alone cannot: no single key controls the funds.
What is the difference between paired-device 2FA and multisig?
Paired-device 2FA requires a second approval from another device you own. Multisig requires multiple independent private keys to sign a transaction. 2FA protects against one compromised device. Multisig protects against any single key being lost, stolen, or compromised, making it the stronger option for larger holdings or shared control.
Can I use a hardware wallet inside a multisig vault?
Yes. Native SegWit multisig vaults on Xverse accept Ledger as a hardware signer. That gives you the offline key protection of a hardware wallet combined with the no-single-point-of-failure guarantee of multisig.
What happens if I lose one key in a multisig setup?
In a 2-of-3 vault, losing one key still leaves two keys that can sign. Your funds stay accessible. That is the core advantage of multisig over a single-signature setup, where one lost key means everything is gone. The recommendation is to set the threshold below the total number of keys for exactly this reason.
Do I need to move all my Bitcoin at once when upgrading tiers?
No. Build the new setup first, send a small test amount, verify recovery, and only then move the full balance. If the amount is large, split it across several transactions and confirm each one arrives before sending the next.